Shopping Cart
0 item(s) - $0.00- Pond Sealant
- Aeration Systems
- Air Pumps & Compressors
- Algae Control
- Algaecides & Herbicides
- Bacteria & Clarifiers
- DC Compressors & 12V Pumps
- Diffusers & Airstones
- Dock Bubblers & Deicers
- Dyes & Colorants
- Fountains
- Large Ponds & Lakes
- Muck Removal
- Nozzles & Fountain Heads
- Pond Liner
- Pond Pumps
- Tubing & Accessories
- Water Level Control & Gates
- Water Treatments
- Windmill Aeration
- Commercial & Industrial Supplies
- Solar Aeration
-
Information & Articles
- - Aeration: The Key To Success
- - Air Compressors: Rotary Vane
- - Air Pumps: Linear or Diaphragm
- - Airline & Tubing for Aeration Systems
- - Algae Control
- - Aquatic Plants & Weeds in Ponds
- - Building A Dock Bubbler System
- - Building A Pond: The Basic Steps
- - Calculating Dissolved Oxygen Levels
- - Compost Aeration & Compost Tea
- - Diffusers: The Key To Efficient Aeration
- - Dock Bubblers & Deicers
- - Duckweed Control
- - Fountain For Ponds, Lakes & Small Gardens
- - Grease Trap Bacteria & Enzymes
- - Mosquito Control in Ponds
- - Muck: Removing Sludge & Pond Muck
- - Pond Aeration Systems
- - Pond Dyes: Aesthetics & Growth Control
- - Pond Liners
- - Pond Pumps: Submersible & External
- - Pond Winterization: Prepare Your Pond for Winter
- - Septic Bacteria Treatments
- - Solar Aeration, Solar Pumps & Solar Systems
- - Solar Aerator Parts List
- - Solar DC & 12V Pumps
- - Weeds & Eurasian Milfoil
- - Windmill Aeration & Windmill Pumping
- - Winterization of Ponds and Lakes
- - Beneficial Bacteria: Helping A Pond Naturally
- - Algae: Basics of Pond Algae
- - Oxygen Transfer Rates, SOTR & Pumping Rates of Aeration Systems
- - Pond Weed & Algae Control
- - Questions & Answers
- - Waterfalls: Building a Waterfall
- - Weighted Airhose, Airline & Tubing for Ponds
- - Links to Suppliers & References
- Consultations & Design Assistance
- Books & Guides
- Links & Resources
Water Level Control Structure - Inline
Product Code: Heavy Duty Water Level Control Structure - Inline
Availability: In Stock
Free shipping in the USA.
 Free Shipping in the USA.
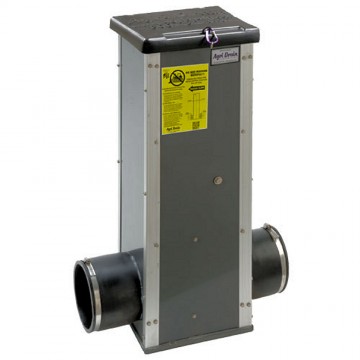
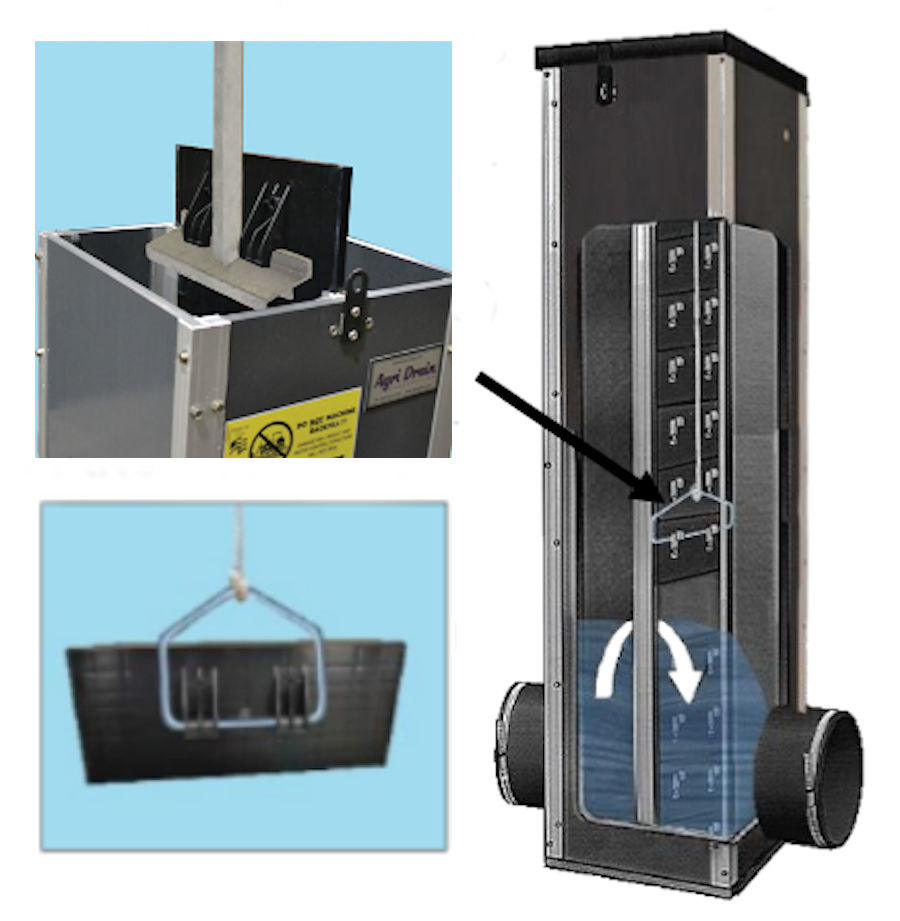
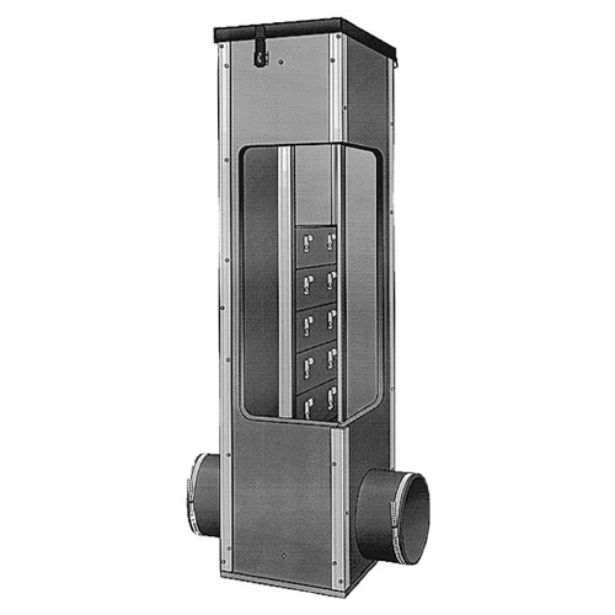
These water level control structure permit precise adjustment and level control of ponds and lakes. A series of stoplogs inside the heavy-duty PVC structure can be raised and lowered or removed to set the pond level or to drain the pond quickly from the berm or the dam where the control structure is embedded.
Includes handle to install and remove the stoplogs, stainless steel clamps with rubber pipe connectors on both inlet and outlet, lubrication grease for stoplog seals and lockable lid.
The Water Level Control Structures are constructed of rugged 1/2"-thick PVC sheets, connected at the corners by means of specially extruded anodized aluminum profiles sealed with waterproof caulking and secured with stainless steel screws. The bottom of the structure is sealed with either a 1/2"- or 1"-thick PVC sheet (dependent upon structure size) and also utilizes waterproof caulking for sealant and stainless steel screws to hold it in place.
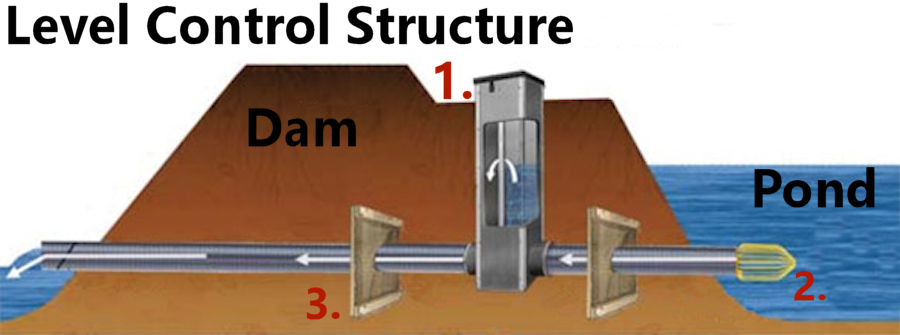
1. Water Level Structure 2. Screen to stop debris (optional) 3. Anti-seep collars (optional)
- Constructed of rugged 1/2" PVC with lockable plastic lid.
- Stainless steel screws and custom anodized aluminum corner extrusions used for strength and durability.
- Flexible couplers allows PVC, plastic pipe, or other materials to be easily attached. (Please specify type of pipe when ordering.)
- Stoplogs made of PVC in 5" and 7" heights for adjustability. (Maintenance recommended: Remove stoplogs and grease seal with Lubriplate Grease [included]. Ensure there is no debris in the tracks or along the bottom of the structure. Replace stoplogs after greasing, ensuring bottom stoplog is installed first.)
- Important! To minimize seepage, align stoplogs firmly against one side of the stoplog track.
- Stoplogs must remain in track during structure installation.
- Structures are not pressure rated.
- Structures are intended for gravity flow: Low pressure and some seepage may occur.
- 5-year warranty on all standard structures.
| Pipe Size |
Width (Inside Dim.) |
Depth (Inside Dim.) |
|---|---|---|
| 4" | 8" | 10" |
| 6" | 8" | 10" |
| 8" | 11 5/8" | 12" |
| 10" | 14" | 16" |
| 12" | 16" | 20" |
| 15" | 20" | 24" |
| 18" | 24" | 28" |
| 24" | 31" | 39" |
Easy To Install
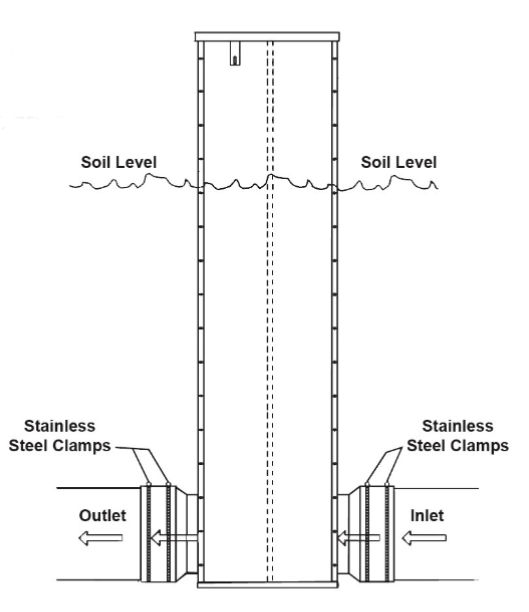 1.) EXCAVATION AND GRADING
Structure base, inlet pipe, & outlet pipe must be set on compacted soil or fill sand to provide a solid, stable base. This will prevent settling and reduce stress or misalignment of pipe connections.
2.) PIPE CONNECTION
Remove stainless steel clamps from inside structure.
Place pipe inside flex couplers and tighten SS clamps.
3.) BACKFILL AND COMPACTION
Level structure vertically before placing backfill. Backfill around control structure by hand in 6" lifts.
Hand tamp only do not mechanically compact.
Do not use a backhoe or blade to place backfill directly against the water control structure.
US Patent No. 6,715,508 B2
US Patent No. 6,786,234 B2
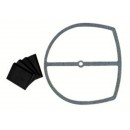
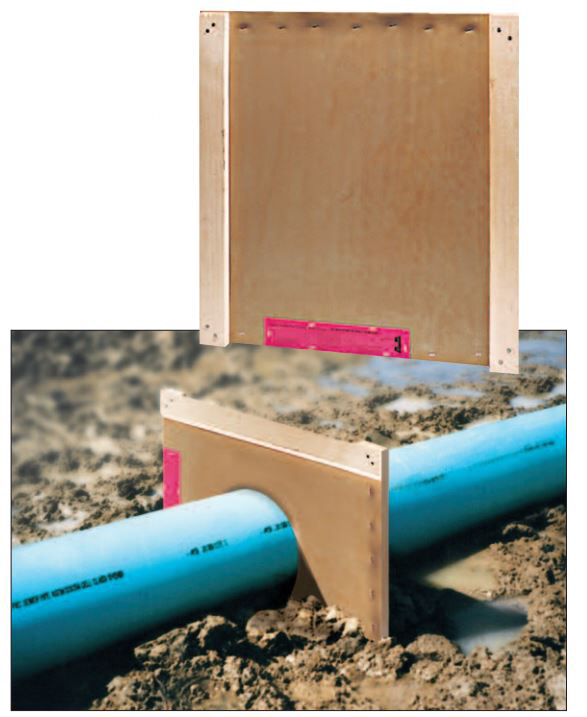 Optional Anti-Seep Collar Optional Anti-Seep Collar Keep your pipe from being washed out.
3' x 3' anti-seep collar is recommended for all pipe sizes between 4" and 12" Installed in three easy steps: 1. Unroll Anti-Seep and align boards to form a square. Attach metal brackets to corner of boards with screws provided. Attach rubber to frame with nails provided. 2. Cut a round hole* in rubber 33% smaller than your pipe size. 3. Insert pipe through hole in rubber. *YOU MUST CUT A ROUND HOLE. Cutting an “X” or slit will cause gum rubber to rip. |
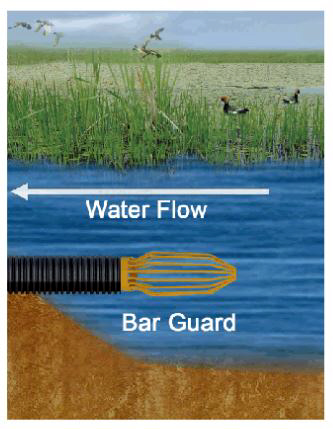 Optional Bar Guard Optional Bar GuardEliminate plugged inlets with Bar Guards.
All intakes require periodic maintenance. 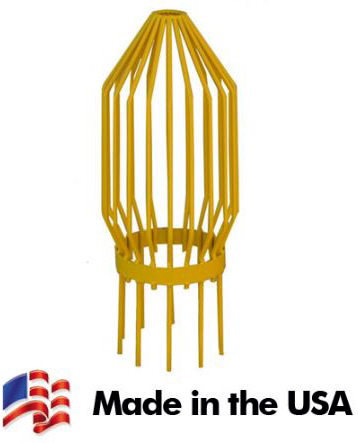 |
Write a review
Your Name:Your Review: Note: HTML is not translated!
Rating: Bad Good
Enter the code in the box below:

The Pond Report
Pond Supplies for private pond owners and commercial pond managers.
Pond & lake products and treatments for natural pond care and aquatic management
Fast and free shipping from our Florida, California & Oklahoma Distribution Centers.
ThePondReport.com is a participant in the Amazon Services LLC Associates Program, an affiliate advertising program designed to provide a means for sites to earn advertising fees by advertising and linking to Amazon.com. Read our disclosure policy regarding the affiliations and commercial incentivizations of The Pond Report web site.
© 2006 - 2025

